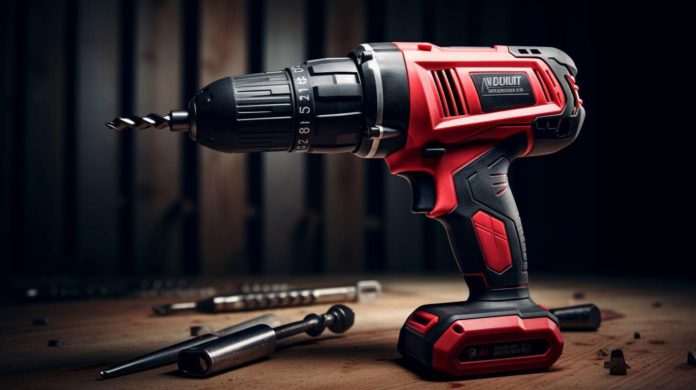
Whether you’re a professional woodworker or a DIY enthusiast, you will frequently need to change the drill bits on your standard drill. Different drill bits are designed for specific materials and tasks, so mastering the skill of changing drill bits is essential for an efficient workflow. Here’s an informative guide on how to change a drill bit on a standard drill.
Materials and Tools Needed
- Standard drill
- Replacement drill bit
- Safety glasses
- Work gloves
- Adjustable wrench or channel-lock pliers (optional)
Procedure
1. Safety Precautions: As a safety measure, always wear safety glasses and work gloves while changing drill bits to protect your eyes and hands from any debris or sharp edges.
2. Power Off the Drill: Turn off the drill and unplug it from the power source. If you’re using a battery-powered drill, remove the battery to prevent the drill from accidentally starting during the bit change.
3. Identify the Chuck: The drill bit is held in place by a component called the chuck, which is located at the front of the drill. Most standard drills have either a keyless chuck or keyed chuck. In this guide, we will focus on the keyless chuck, as it is more common in modern drills.
4. Loosen the Chuck: To loosen the chuck and release the drill bit, hold the drill firmly in one hand while using your other hand to hold the chuck. Turn the chuck counter-clockwise until it’s wide enough for the drill bit to be easily removed. You may also use a wrench or channel-lock pliers to get a better grip if necessary.
5. Remove the Old Drill Bit: With the chuck loosened, slide the used drill bit out of the chuck. Be careful, as the bit might be hot if you were using it just before the removal.
6. Insert the New Drill Bit: Choose the new drill bit that you want to use and insert it into the chuck’s open jaws. Ensure the shank (the smooth part of the bit) is inserted into the chuck, while the cutting end of the bit is facing outward.
7. Tighten the Chuck: Hold the drill in one hand and use the other hand to turn the chuck clockwise. You should begin to feel the tension increase as you turn the chuck. Continue turning until the chuck securely grips the new drill bit. If you used a wrench or channel-lock pliers to loosen the chuck, use the same tool to tighten it.
8. Double-Check the Bit: Give the drill bit a gentle tug to ensure it’s properly secured in the chuck. Additionally, verify that the bit is aligned straight and not at an angle before using the drill.
Changing a drill bit on a standard drill is a quick and simple process once you’re familiar with the steps. By following this informative guide, you’ll be able to efficiently switch between drill bits and make your DIY projects run smoothly. Happy drilling!

